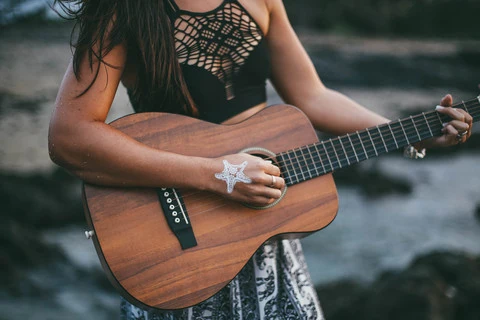
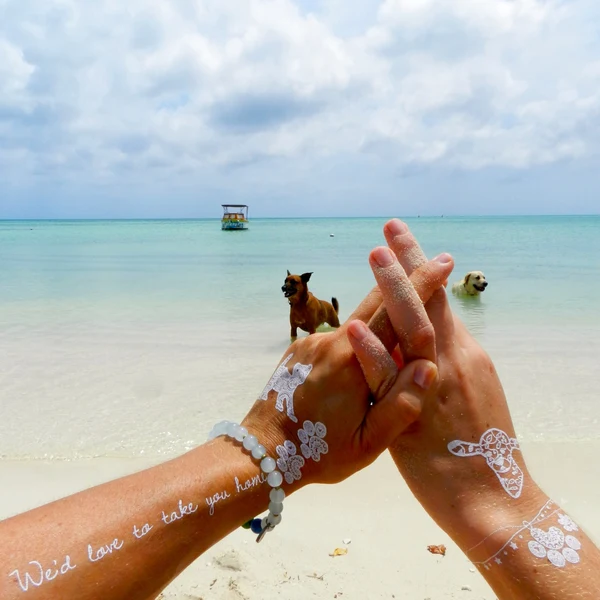
Temporary Tattoo Collection Donates 50% to Animal Rescue!
Posted on

Posted on
Posted on
A temporary tattoo can look striking in person yet lose its detail in a rushed phone photo. Fine lines, geometric shapes, white ink, and matte black finishes all depend on thoughtful lighting and careful composition. A few simple adjustments can make your design appear crisp, dimensional, and ready for Instagram, Pinterest, or TikTok.
The goal is to show the tattoo as part of your style rather than treating it like a product snapshot. Skin texture, clothing, jewelry, movement, and background color all influence how the design reads on screen. With the right setup, you can create polished images without a professional camera or complicated editing software.
Start with clean, dry skin so the temporary tattoo has a smooth surface and strong edges. Oils, lotions, and body shimmer can cause lifting or create unwanted highlights in photographs. If you have just applied the design, allow it to set fully before posing. The flawless application guide can help you achieve an even finish that photographs well.
Choose the body placement according to the story you want the image to tell. A wrist or ankle works well for close-up detail, while a shoulder, collarbone, or forearm gives you more room to create a fashion-focused composition. Check the tattoo from several angles before shooting, especially if the design contains symmetrical geometry.
Keep a small cloth nearby to gently remove fingerprints or excess moisture from the surrounding skin. Avoid rubbing directly over the tattoo. A clean surface reflects light more evenly and keeps the design’s fine hand-drawn details visible.
Natural window light is one of the easiest ways to photograph temporary tattoos. Place yourself near a bright window, but avoid direct midday sunlight that creates hard shadows and overexposed areas. Thin curtains can soften the light, while a white wall or sheet opposite the window can bounce brightness back onto the tattoo.
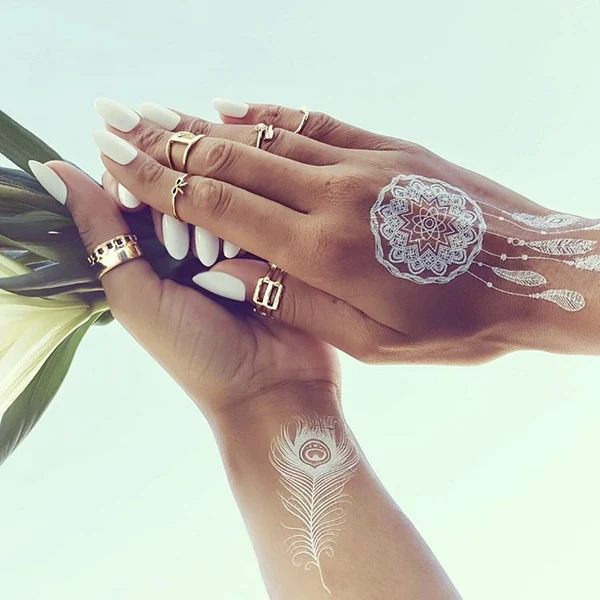
Directional light gives the image shape. Position the tattoo so light travels across the skin rather than hitting it straight on. This can reveal the texture of matte black ink and add gentle dimension around the edges. For white temporary tattoos, use soft side lighting to prevent the design from disappearing against pale skin.
| Shooting Setup | Best Use | Main Advantage | Watch For |
|---|---|---|---|
| Bright window with curtain | Close-up portraits | Soft, natural detail | Flat exposure near the glass |
| Open shade outdoors | Lifestyle images | Even skin tones | Distracting backgrounds |
| Golden-hour sunlight | Editorial-style photos | Warm atmosphere and depth | Long shadows and color shifts |
| Small LED light with diffuser | Consistent indoor content | Control over brightness | Reflections on glossy skin |
| Phone flash bounced or softened | Low-light emergencies | Convenient and bright | Harsh shadows and washed-out ink |
If you use an artificial light, diffuse it with a softbox, thin white fabric, or a nearby wall. Avoid placing a bare lamp directly above the tattoo. That position can create glare and make the design look flatter than it does in person.
A simple background keeps attention on the tattoo. White, charcoal, beige, denim, and muted earth tones work especially well with black-and-white body art. Match the background to the ink for a coordinated editorial feel, or choose contrast when you want the tattoo to stand out immediately.
Think beyond a blank wall. A linen shirt, textured knit, ceramic surface, or natural stone can add visual interest without overwhelming the subject. For a hand or forearm photograph, a coffee table, book, or folded fabric can create context while keeping the tattoo as the focal point.
Avoid busy patterns close to the design. Stripes, strong florals, and high-contrast objects can compete with intricate artwork. Before taking the final shot, scan the edges of the frame for clutter, bright spots, and unrelated colors that may pull attention away from the tattoo.
Take several types of photographs during the same session. A tight crop showcases linework, while a wider image presents the tattoo as part of an outfit or daily setting. Vertical compositions generally work well for Instagram Stories, Reels covers, Pinterest, and other mobile-first feeds.
Use the grid feature on your phone to align the body, tattoo, and background. For symmetrical designs, center the tattoo carefully. For organic or asymmetrical artwork, place it slightly off-center and leave space in the direction the body or hand is facing. This creates a more natural sense of movement.
Try both still poses and subtle action. Holding sunglasses, adjusting a sleeve, tying shoelaces, or reaching toward a plant can make the image feel candid. Keep the movement slow and controlled so the camera captures sharp edges rather than motion blur.
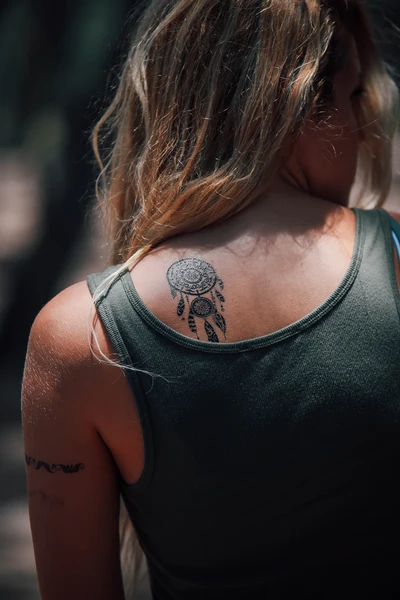
Black temporary tattoos usually provide strong contrast, but deep shadows can swallow delicate details. Slightly brighten the exposure before taking the image, then check that the darkest areas still show visible linework. A matte black design often looks best under broad, diffused light that reveals its velvety finish.
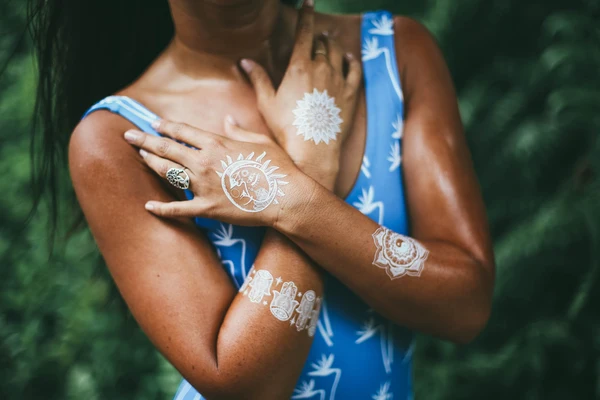
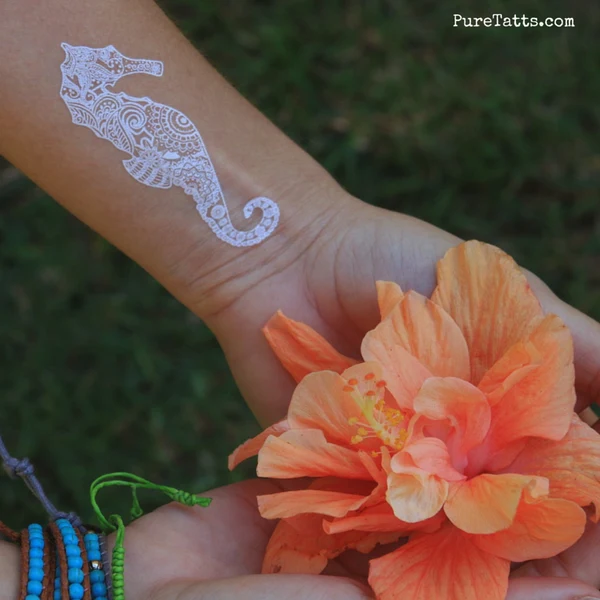
White tattoos need special attention because they can blend into bright skin or pale clothing. Use a darker or mid-tone background and light the tattoo from the side. Avoid excessive editing that boosts highlights, since this can erase the boundaries of a white design.
Geometric tattoos benefit from a straight camera angle. If the phone is tilted, circles may look oval and parallel lines may appear uneven. For a more artistic result, deliberately angle the body while keeping the design sharp, but make sure the distortion looks intentional rather than accidental.
The character of a tattoo begins with the artist’s linework. You can learn more about hand-drawn tattoo artistry to understand why close-up photography matters for capturing small variations and carefully drawn details.
Use your phone’s editing tools to make the photograph resemble what you saw in person. Start with cropping and straightening, then adjust exposure, contrast, and shadows in small increments. Slightly lowering highlights can protect white ink, while a modest contrast increase can clarify black linework.
Keep skin tones believable. Heavy clarity, sharpening, or texture effects can make the skin appear unnatural and create rough-looking tattoo edges. Filters may also shift white ink toward blue or black ink toward brown, so check the design against the original before posting.
For a consistent social media feed, use similar brightness and background tones across multiple posts. You can create a simple visual identity with cool monochrome edits, warm neutral backgrounds, or clean high-contrast portraits. Consistency makes seasonal collections and artist collaborations feel connected without making every image identical.
A repeatable process saves time and gives you better content. Before each session, clean the camera lens, prepare the tattoo, select the background, and decide whether the image is intended as a close-up, lifestyle post, or short-form video cover. Take a few test shots before changing your pose.
Save your favorite setup as a repeatable formula. The same window, background, and camera distance can help you document multiple designs while maintaining a cohesive look. Change the styling through clothing, accessories, poses, or seasonal details rather than rebuilding the entire setup each time.
A strong temporary tattoo photograph makes people pause, inspect the artwork, and imagine wearing it themselves. Set up your next shoot with soft light, a clean composition, and a design that reflects your personal style, then share the finished image with your audience.
Posted on
Posted on
Posted on

Posted on

Posted on
Posted on
Posted on